
Collections
How to modify collection playbooks
Updated November 18, 2026
A playbook is the schedule Thor follows when it collects from a customer. Each step in a playbook is a play: an email or a call that Thor creates as a task when the customer's account reaches a certain number of days past due.
Thor checks each customer's account every morning. If the days past due match a play on the customer's assigned playbook, Thor creates that task. The full explanation is in How collection tasks are determined.
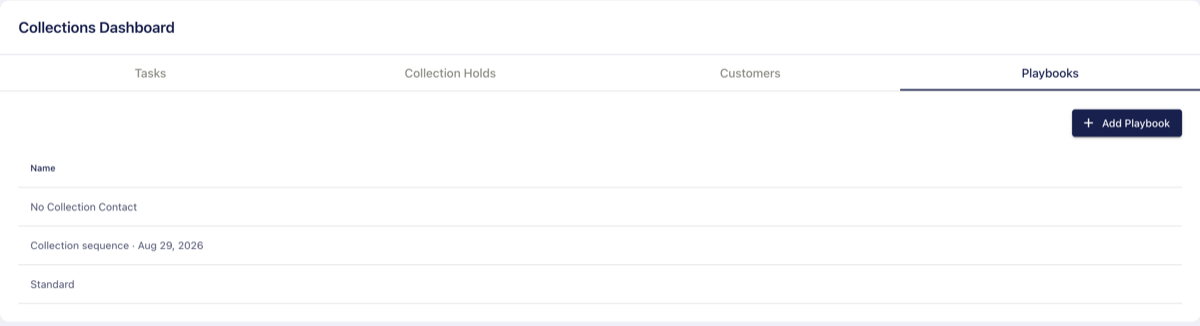
You manage playbooks in Collections → Playbooks.
To choose which playbook a customer follows, see How to change collection playbook assignments.
Add a playbook
- Open Collections in the left navigation, then go to the Playbooks tab.
- Click Add Playbook.
- Enter a Playbook Name, then click Create Playbook.
The new playbook appears in the list. It has no plays yet, so Thor does not create any tasks from it until you add some. Assign it to customers to put it to use.
Add a play to a playbook
- In Collections → Playbooks, click the playbook to open it.
- Click Add Play.
- Choose the Play Type: EMAIL or CALL.
- If you chose email, enter a Subject Line.
- Write the Message. For an email, this is the body of the email. For a call, this is the note the caller sees on the task, such as a script or talking points.
- Enter the Days Past Due for the play. Use a whole number, 1 or higher.
- Click Add Play.
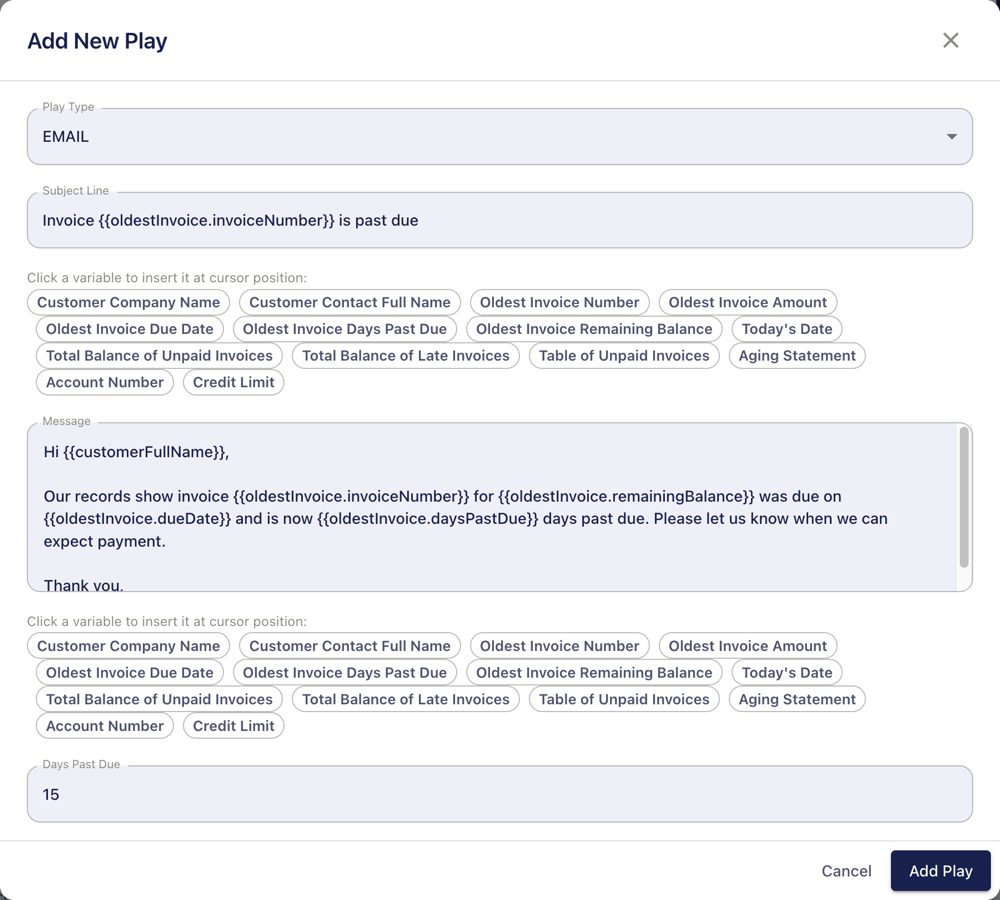
Each play creates a task on its own day. A play set to 15 days past due creates its email or call when the customer's oldest eligible invoice is exactly 15 days past due. To build a full cadence, add one play for each day you want Thor to reach out. For example, you might add an email at 5 days, a second email at 15 days, and a call at 30 days.
The Play Type list also includes two Daily Over Credit Limit options. Those are not based on days past due and are not covered here.
Use variables to personalize a message
Variables fill in each customer's details when the task is created. Below the Subject Line and Message fields, click a variable to insert it where your cursor is. Variables appear in the text in double curly braces, such as {{companyName}}.
You can use these variables in both the subject line and the message:
- Customer Company Name
- Customer Contact Full Name
- Oldest Invoice Number
- Oldest Invoice Amount
- Oldest Invoice Due Date
- Oldest Invoice Days Past Due
- Oldest Invoice Remaining Balance
- Today's Date
- Total Balance of Unpaid Invoices
- Total Balance of Late Invoices
- Table of Unpaid Invoices
- Aging Statement
- Account Number
- Credit Limit
The "Oldest Invoice" variables use the same invoice that sets the account's days past due: the oldest unpaid invoice that is not disputed and does not have an active promise to pay.
Press backspace right after a variable to delete the whole variable at once.
The sender's signature is added to emails
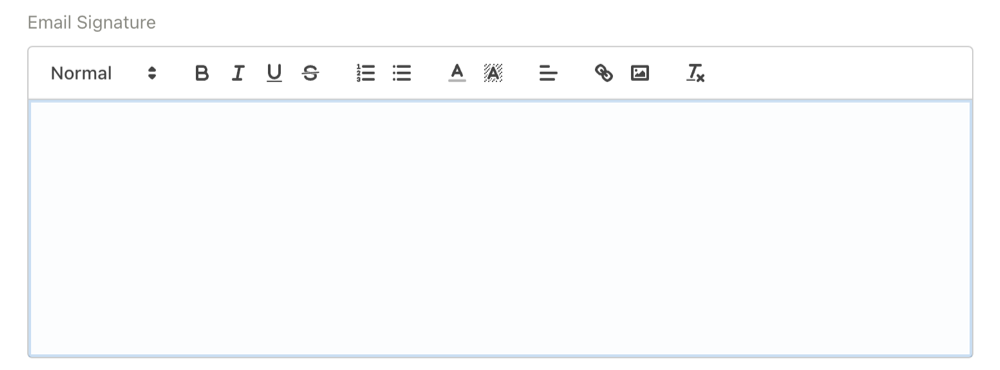
Thor adds the sending user's Email Signature to the bottom of each email automatically. You do not need to type a signature into the play. The email sends from the customer's assigned user, so it uses that user's signature.
To set or change a user's signature:
- Open Settings → Users.
- Click the edit (pencil) icon next to the user.
- Update the Email Signature, then click Save.
Edit or delete a play
- In Collections → Playbooks, click the playbook to open it.
- Click the pencil icon on the play you want to change.
- Update the fields and click Update Play. To remove the play, click Delete and confirm.
Changes apply to every customer assigned to that playbook, starting with the next task Thor creates. Tasks Thor already created keep the text they were created with.